[UIKit] UICollection 그 시작
![[UIKit] UICollection 그 시작](/_next/image?url=https%3A%2F%2Fcdn.hashnode.com%2Fres%2Fhashnode%2Fimage%2Fupload%2Fv1701510934028%2F19bfec27-4571-4842-96de-c781eebdc81d.png&w=3840&q=75)
공식문서를 보자
UICollection 이란 어떤 놈이냐?
An object that manages an ordered collection of data items and presents them using customizable layouts.
\=> 정렬된 데이터 아이템 모음을 관리하고 보여줌주는 객체 + 레이아웃 커스텀 가능
대충 이런 뜻이구만 오케이
그럼 어떻게 쓰는건데?
Overview로 같이 고고
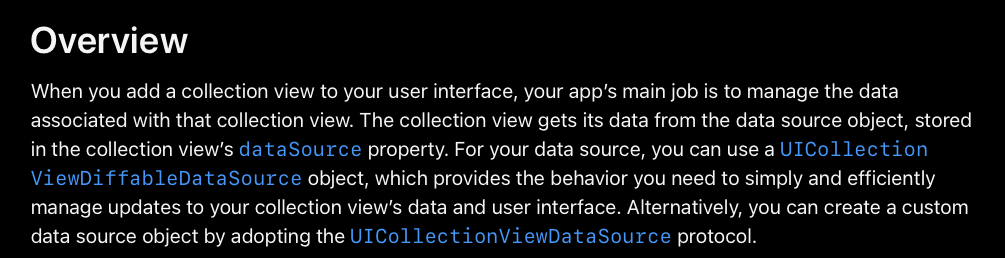
... The collection view gets its data from the data source object, stored in the collection view’s
dataSourceproperty. For your data source, you can use aUICollectionViewDiffableDataSourceobject, which provides the behavior you need to simply and efficiently manage updates to your collection view’s data and user interface. Alternatively, you can create a custom data source object by adopting theUICollectionViewDataSourceprotocol.collection view는 data source object로 부터 데이터 갖고 있음
collection view의
dataSource프로퍼티에 저장함너가 data source 사용하려면
UICollectionViewDiffableDataSource(클래스)를 사용해야 함위 클래스는 간단하고 효율적으로 뷰 데이터와 인터페이스 관리해줄거임
너가 커스텀으로 데이터를 저장하고 싶다? 그러면
UICollectionViewDataSource(프로토콜)채택하면 됨
음 조금은 알 것 같아.
그럼 우선 UICollectionView를 선언하면서 하나씩 배워보자
import UIKit

class FirstVC: ViewController {
    let collectionView = UICollectionView()
}
아주아주 간단한 코드지만 실.행.안.된.다.
Why???

UIViewCollectionView must be initialized with non-nil layout parameter
\=> CollectionView는 layout 파라미터가 있는 생성자로 만들어야함.
음? layout이 뭔데?
생성자 공식문서 고고싱
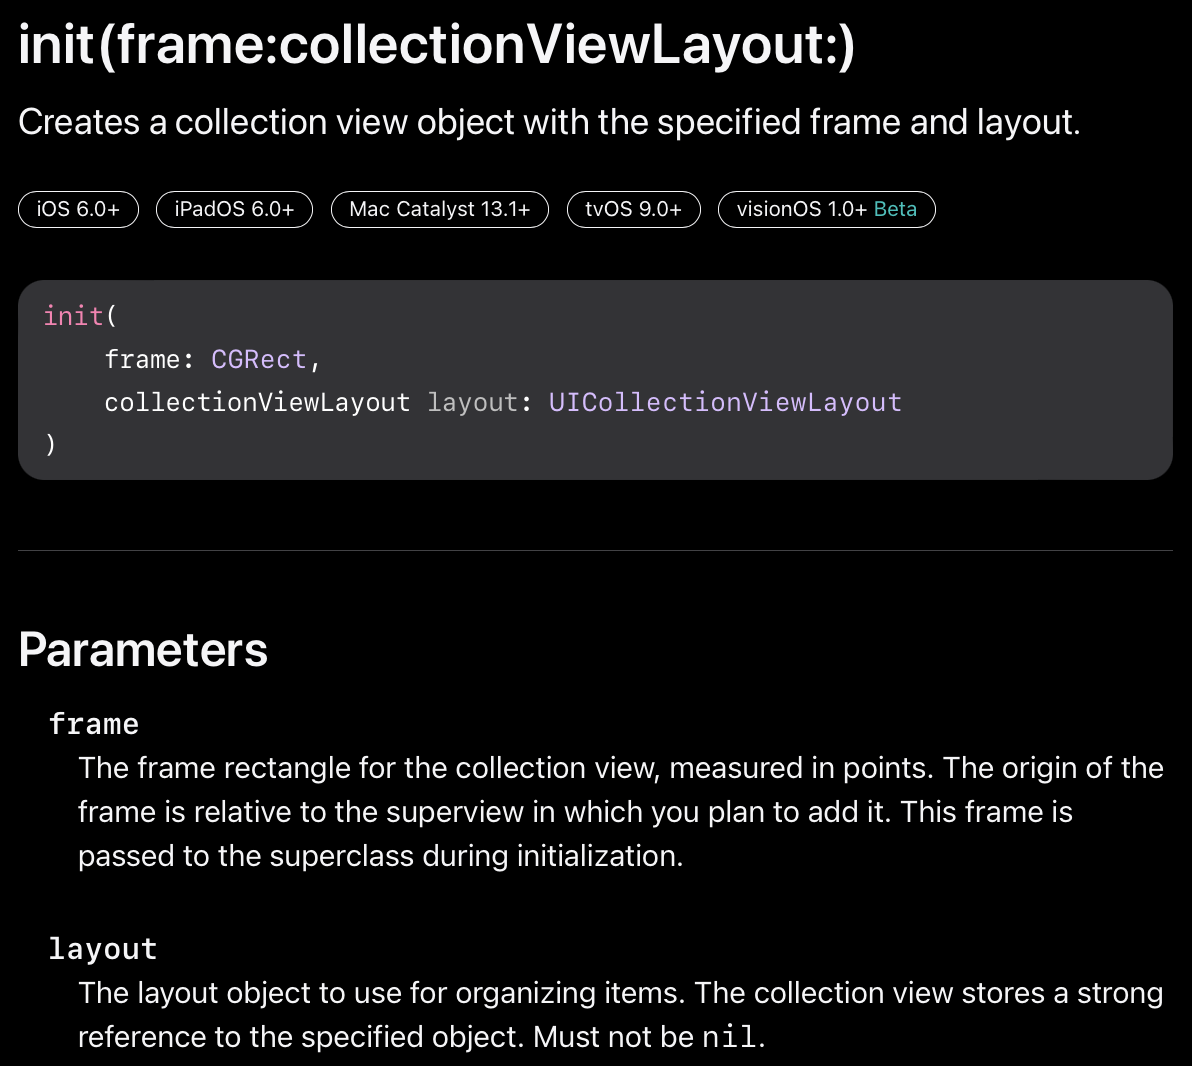
frame은 말 그대로 frame이고 layout을보자.
The layout object to use for organizing items. The collection view stores a strong reference to the specified object. Must not be nil.
\=> 레이아웃은 아이템을 모으기 위해서 사용됨 CollectionView는 layout을 구체화(메모리 해제 방지)를 위해서 강한 참조로 저장함. 반드시 nil 이 아니여야함
뭔가 뭔가 부족함
오오 여기에는 정보가 조금 있구만 보자보자.
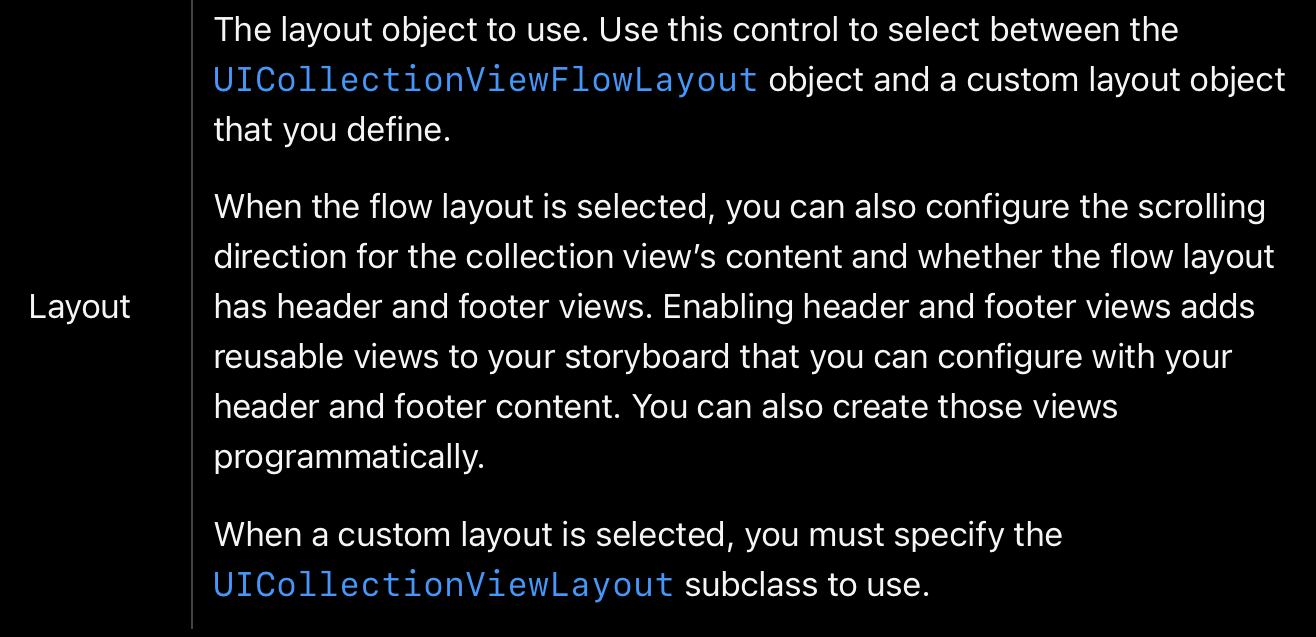
The layout object to use. Use this control to select between the
UICollectionViewFlowLayoutobject and a custom layout object that you define.레이아웃을 사용하려면
UICollectionViewFlowLayout을 사용하던가 커스텀 레이아웃 사용해라When the flow layout is selected, you can also configure the scrolling direction for the collection view’s content and whether the flow layout has header and footer views.
flow layout이 선택되면 스크롤 방향 선택할 수 있음 그리고 flow layout은 header & footer 뷰를 가질 수 있음
Enabling header and footer views adds reusable views to your storyboard that you can configure with your header and footer content. You can also create those views programmatically.
머리글과 바닥글 보기를 활성화하면 머리글과 바닥글 콘텐츠로 구성할 수 있는 재사용 가능한 보기가 스토리보드에 추가됩니다. 또한 프로그래밍 방식으로 그 뷰를 만들 수 있습니다.
When a custom layout is selected, you must specify the
UICollectionViewLayoutsubclass to use.만약 커스텀 layout을 사용한다면 너는 UICollectionViewLayout 하위 클래스를 지정해야함
When the Flow layout is selected, the Size inspector for the collection view contains additional attributes for configuring flow layout metrics.
Flow layout을 선택하면 CollectionView를 위한 Size inspector가 추가 속성을 갖고 있음 flow layout 측정을 위해서
Use those attributes to configure the size of your cells, the size of headers and footers, the minimum spacing between cells, and any margins around each section of cells.
각 속성은
- 셀 사이즈 / header footer 사이즈 / 셀 간 최소 간격 / 각 셀의 margin 이 있다.
오케이 그럼 UICollectionViewFlowLayout을 보자.
그럼 UICollectionViewDiffableDataSource 이것 부터 봅시다잉
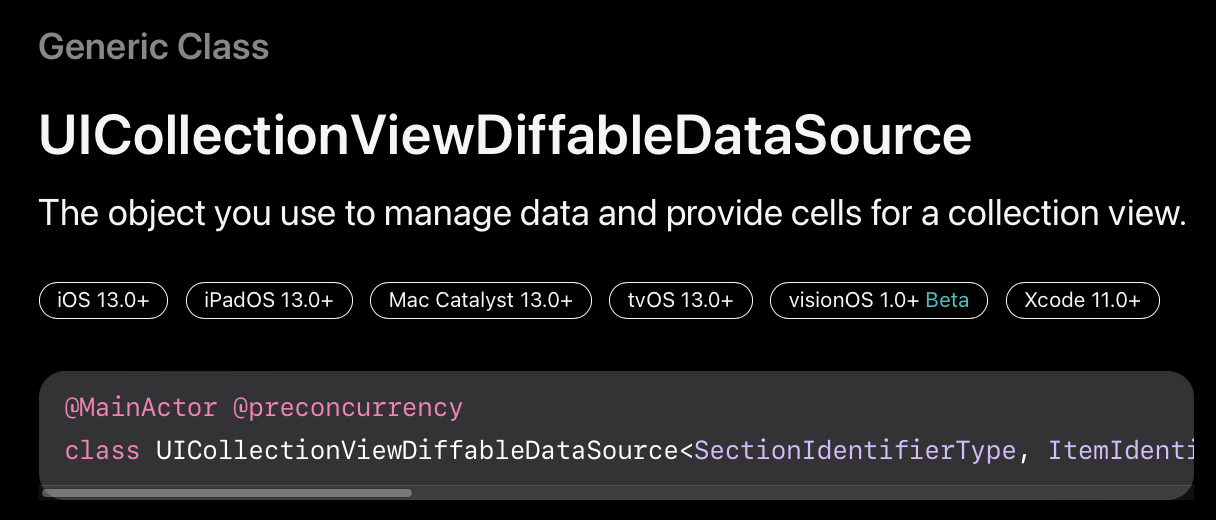
class UICollectionViewDiffableDataSource<SectionIdentifierType, ItemIdentifierType> : NSObject
where SectionIdentifierType : Hashable,
      SectionIdentifierType : Sendable,
      ItemIdentifierType : Hashable,
      ItemIdentifierType : Sendable
아따 선언부도 길다.
데이터를 관리할 수 있는 오브젝트 이자 collection view에 cell을 제공하는 오브젝트

diffable data source는 collection view object에 특화되어 있음
collection view 의 데이터와 UI를 업데이트 관리해줄꺼임 효율적으로.
그리고
UICollectionVIewDataSource프로토콜도 만족하고 있음.아래와 같이 하면 사용할 수 있음.
collectionview랑 diff able data source 연결해라
셀 공급자 구현하세요. collection view cell을 보여줘야 하잖슴
데이터 만드셈
데이터 UI에 보여주셈
예제
확실한 건 예제로 알아보자.
class ViewController: UIViewController {
    var vm = ViewModel()

    var collectionView: UICollectionView = {
        let layout = UICollectionViewFlowLayout()
        var result = UICollectionView(frame: .zero, collectionViewLayout: layout)
        result.translatesAutoresizingMaskIntoConstraints = false

        return result
    }()

    override func viewDidLoad() {
        super.viewDidLoad()
        layout()

    }

    func layout() {
        view.addSubview(collectionView)
        NSLayoutConstraint.activate([
            collectionView.topAnchor.constraint(equalTo: view.safeAreaLayoutGuide.topAnchor),
            collectionView.bottomAnchor.constraint(equalTo: view.safeAreaLayoutGuide.bottomAnchor),
            collectionView.leadingAnchor.constraint(equalTo: view.leadingAnchor),
            collectionView.trailingAnchor.constraint(equalTo: view.trailingAnchor)
        ])
        // 1
        collectionView.dataSource = self

        // 2
        collectionView.register(CollectionViewCell.self, forCellWithReuseIdentifier: "MyCell")
    }
}
먼저 UICollectionView를 ViewController에 부착시켜줬다.
collectionView.dataSource = self라는 의미는 ViewController가UICollectionViewDataSource프로토콜을 채택하고 Cell과 관련된 정보를 넘겨줄 것이다. 라는 것을 의미한다.collectionView.register(CollectionViewCell.self, forCellWithReuseIdentifier: "MyCell")의 의미는 collectionView에 CollectionViewCell 이라는 셀을 MyCell 이라는 구분자로 등록할게요~ 라는 의미이다.
그럼 어떻게 셀을 표현할까? 먼저 Cell을 만들어야 한다.
class CollectionViewCell: UICollectionViewCell {
    var imageView: UIImageView = {
        var result = UIImageView()
        result.translatesAutoresizingMaskIntoConstraints = false
        result.contentMode = .scaleAspectFit
        return result
    }()

    override init(frame: CGRect) {
        super.init(frame: frame)

        addSubview(imageView)
        NSLayoutConstraint.activate([
            imageView.topAnchor.constraint(equalTo: topAnchor),
            imageView.bottomAnchor.constraint(equalTo: bottomAnchor),
            imageView.trailingAnchor.constraint(equalTo: trailingAnchor),
            imageView.leadingAnchor.constraint(equalTo: leadingAnchor),
        ])
        backgroundColor = .blue
    }

    required init?(coder: NSCoder) {
        fatalError("init(coder:) has not been implemented")
    }
}
가볍게 UIImageView를 갖고 있는 Cell을 만들었다. 그럼 저 Cell을 어떻게 CollectionView에 알려주냐?
extension ViewController: UICollectionViewDataSource {
    // A
    func collectionView(_ collectionView: UICollectionView, numberOfItemsInSection section: Int) -> Int {
        return vm.images.count
    }
    // B
    func collectionView(_ collectionView: UICollectionView, cellForItemAt indexPath: IndexPath) -> UICollectionViewCell {
        let myCell = collectionView.dequeueReusableCell(withReuseIdentifier: "MyCell", for: indexPath) as! CollectionViewCell

        if indexPath.item < vm.images.count {
            myCell.imageView.image = vm.images[indexPath.row].image
        } else {
            myCell.backgroundColor = .gray
        }
        return myCell
    }
}
바로 ViewController에 UICollectionViewDataSource를 채택함으로 알려준다.
A. collectionView에 몇 개의 Cell을 배치할지 알려주는 함수
B. N번째(indexPath)에 어떤 셀을 표시할지 알려주는 함수
그럼 실행 해볼까?
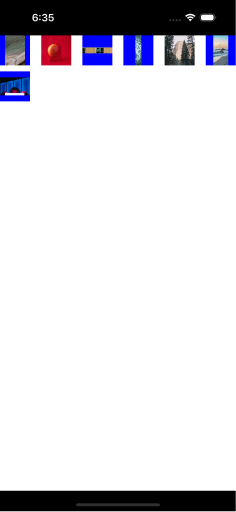
아니? 크기가 너무 작잖아!! 왜냐하면 크기를 안 알려줬기 때문!
UICollectionView의 Delegate를 설정해줘야 한다. Delegate는 UICollectionViewDelegateFlowLayout을 따라야 한다.
extension ViewController: UICollectionViewDelegateFlowLayout {
    func collectionView(_ collectionView: UICollectionView, layout collectionViewLayout: UICollectionViewLayout, sizeForItemAt indexPath: IndexPath) -> CGSize {
        return CGSize(width: collectionView.contentSize.width / 2 - 10, height: 300)
    }
}
자 이제 실행을 해보자. 그럼 아래와 같이 나올 것임
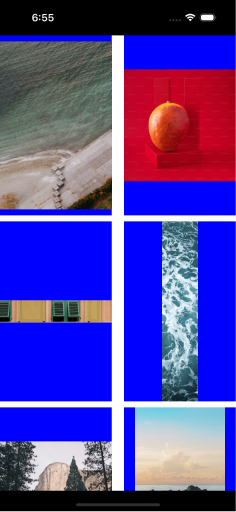
짠! 드디어 CollectionView 처럼 생겼다.
셀의 크기를 편한대로 설정해서 높이 설정 잘 해주면 될 것 같다. 하지만 욕심이 난다.
2열에서 왼쪽은 그림이 위아래로 짧은데, 오른쪽은 길다.
난 높이를 dynamic하게 주고 싶은걸?
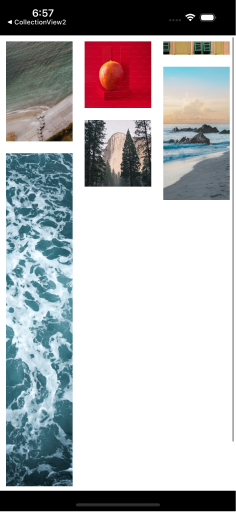
이렇게 말이야. 그럼 어떻게 하지??
이 글에 이걸 담으면 너무 길어질 것 같으니 이건 심화에서 보자.
CollectionView 너무 어렵! 하지만 피할 수 없는 걸!